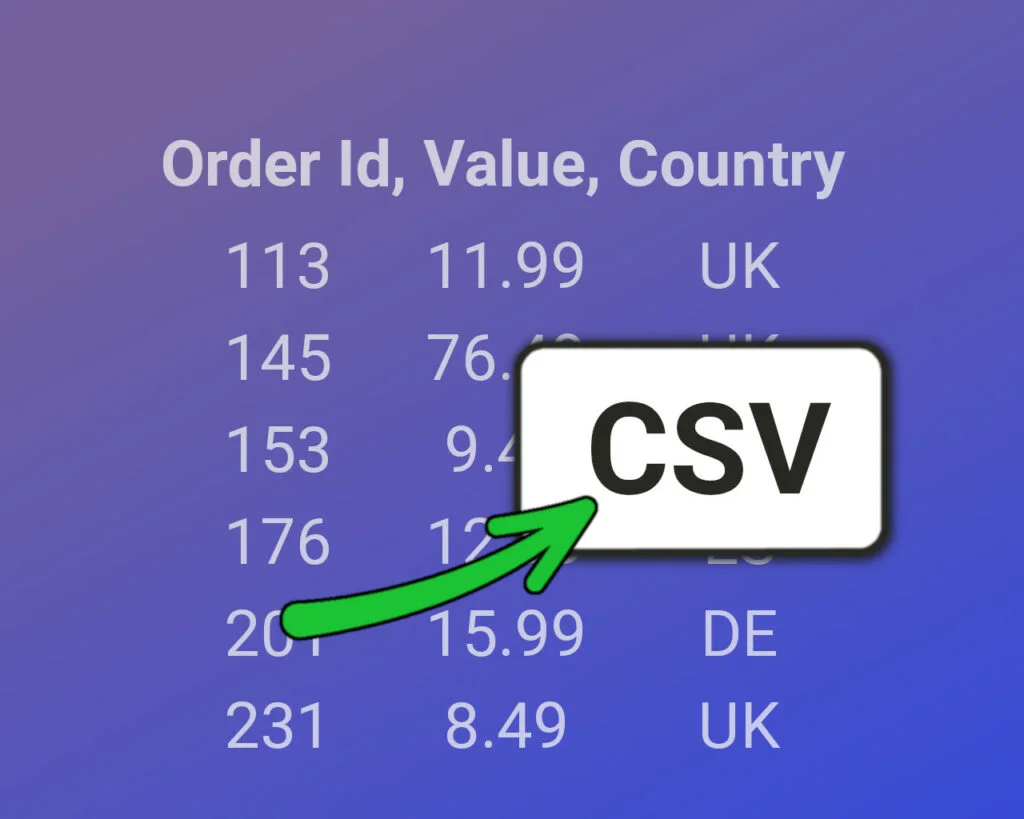
This tutorial shows you how to run custom CSV exports from WordPress & WooCommerce, so you can extract any data you want. We’ll set it up with a couple of simple exports, and it’s easy to add as many new exports as you want.
Each CSV Export will be a small PHP file that runs a WordPress query/loop, so there’s a little bit of coding here, but not much.

We’ll tie it together with a simple widget, so you can run your exports straight from the admin dashboard with a single click.
importantMake sure you’re using a WordPress child theme so you can edit your functions.php file.
Build a Simple Admin Widget
The code to create a WordPress admin widget is pretty easy, so let’s jump straight in. In your custom child theme’s folder, create a file called “custom-csv-exports.php” and also make a folder called “custom-csv-exports”. Open custom-csv-exports.php and paste the following into it.
<?php

/**
 * Headwall WP Tutorials : Export CSV Data from WordPress and WooCommerce.
 *
 * https://wp-tutorials.tech/add-functionality/export-any-csv-data-from-wordpress-woocommerce/
 */

// Don't access this file directly.
defined('WPINC') || die();

/**
 * Configure our admin dashboard widget.
 */
function custom_wp_dashboard_setup() {
    wp_add_dashboard_widget(
        'custom_csv_exports', // Internal name of our widget.
        'Custom CSV Exports', // Title of our widget.
        'custom_csv_exports_widget' // The function that outputs our widget's HTML.
    );
}
add_action('wp_dashboard_setup', 'custom_wp_dashboard_setup');

/**
 * Output the HTML for the admin dashboard widget.
 */
function custom_csv_exports_widget() {
    $base_uri = get_stylesheet_directory_uri();

    // Report One - Post Properties
    printf(
        '<a href="%s" class="button widefat">Export Post Properties</a>',
        esc_url($base_uri . '/custom-csv-exports/report-one.php')
    );

    // More buttons, text, and other goodies for your
    // admin widget can go here...
    // ...
}
Now open your custom child theme’s main functions.php file and paste the following into it.
// Custom CSV Exports
require_once dirname(__FILE__) . '/custom-csv-exports.php';
Save your changes and then go to the admin area of your site. You should see your shiny new admin widget. That was easy 😎
If you look in custom_csv_exports_widget() you’ll see that all we’ve done is output an <a> element with the href set to “/custom-csv-exports/report-one.php” inside our child theme. So… what we need to do next is create report-one.php.
The Report Logic – The PHP Bit
The PHP files that drive our exports will use a straightforward logic flow, like this:
- The file (PHP) is being called directly, so we need to call wp-load.php to instantiate WordPress.
- Abort if the user is not logged-in as an administrator.
- Output some HTTP headers to tell the browser to expect a CSV file (instead of an HTML document).
- Print a comma-separated list of column names.
- Create an array of arguments that define our query.
- Create an array of WordPress post objects (or WooCommerce order objects).
- For each object (row)…
- Print a comma-separated list of values.
exit()
Export your Posts as CSV Data
In your custom child theme, go into the custom-csv-exports folder and create a new file called report-one.php. Then paste the following into it:
<?php

/**
 * Load WordPress. This should work in most cases, but you might need to
 * adjust it if your WordPress installation is unusual.
 */
require_once dirname(dirname(dirname(dirname(dirname(__FILE__))))) . '/wp-load.php';

// Fail if not logged-in as administrator.
if (!current_user_can('administrator')) {
    // 'Not Authorised';
    nocache_headers();
    wp_safe_redirect(site_url());
    exit();
} else {
    $download_file_name = 'report-one.csv';

    // Tell the web browser to expect a CSV file download instead
    // of an HTML document.
    header("Content-Type: application/force-download");
    header("Content-Type: application/octet-stream");
    header("Content-Type: application/download");
    header('Content-Type: text/x-csv');
    header('Content-Disposition: attachment;filename=' . $download_file_name);

    // This lets us use the fputcsv() function.
    $output = fopen('php://output', 'w');

    $field_names = array(
        'post_id',
        'post_status',
        'post_title',
        'post_author_id',
        'post_author_name',
        'post_author_email',
    );

    $row_values = array();

    // Print the headers.
    fputcsv($output, $field_names);

    // Extract the WP_Post objects
    $query_args = array(
        'post_type' => 'post',
        'post_status' => 'publish', // Only published posts.
        'numberposts' => -1, // get all posts, not just the most recent 10.
    );
    $posts = get_posts($query_args);

    // Loop through the $posts array and print each CSV row.
    foreach ($posts as $post) {
        // Each $post is a WP_Post object.
        // https://developer.wordpress.org/reference/classes/wp_post/

        $post_id = $post->ID;
        $author_id = get_post_field('post_author', $post->ID);
        $author = get_user_by('ID', $author_id);

        // Reset all the values for this row.
        foreach ($field_names as $field_name) {
            $row_values[$field_name] = '';
        }

        // Set all the values for this row.
        $row_values['post_id'] = $post->ID;
        $row_values['post_status'] = get_post_status($post->ID);
        $row_values['post_title'] = get_the_title($post);
        $row_values['post_author_id'] = $author_id;

        if (!empty($author)) {
            $row_values['post_author_name'] = $author->display_name;
            $row_values['post_author_email'] = $author->user_email;
        }

        // Print this CSV row.
        fputcsv($output, $row_values);
    }

}
You can now export all your posts in a CSV file. Not bad!
If you want to add more fields, just add them into the $field_names array (keep the field names unique) and then set $row_values['my_new_field'] = "..." in the main loop.
Export WooCommerce Orders as CSV Data
The code to export WooCommerce orders is very similar to what we’ve just written. Let’s create Report Two. Open custom-csv-exports.php and add the following into custom_csv_exports_widget().
// Report Two  - Export orders.
printf(
    '<a href="%s" class="button widefat">Export All Orders</a>',
    esc_url($base_uri . '/custom-csv-exports/report-two.php')
);
Now go into custom-csv-exports, create a file called report-two.php and paste this lot into it.
<?php

require_once dirname(dirname(dirname(dirname(dirname(__FILE__))))) . '/wp-load.php';

if (!current_user_can('administrator')) {
    // 'Not Authorised';
    nocache_headers();
    wp_safe_redirect(site_url());
    exit();
} else {
    $download_file_name = 'report-two.csv';

    header("Content-Type: application/force-download");
    header("Content-Type: application/octet-stream");
    header("Content-Type: application/download");
    header('Content-Type: text/x-csv');
    header('Content-Disposition: attachment;filename=' . $download_file_name);

    $output = fopen('php://output', 'w');

    $field_names = array(
        'order_id',
        'shipping_country',
        'currency',
        'order_total',
        'customer_id',
        'customer_name',
        'customer_email',
    );

    $row_values = array();

    fputcsv($output, $field_names);

    // First date is one month ago. Info for creating date intervals is here:
    // https://www.php.net/manual/en/dateinterval.construct.php
    $first_date = new DateTime('now', wp_timezone());
    $first_date->sub(new DateInterval('P1D'));
    $first_date_string = $first_date->format('Y-m-d');

    // Last date is today.
    $last_date = new DateTime('now', wp_timezone());
    $last_date_string = $last_date->format('Y-m-d');

    // wc_get_orders() is really useful..
    // Lots of good examples for $query_args on Stack Overflow.
    $query_args = array(
        'limit' => -1, // Get all orders, not just the first 10.
        'type' => 'shop_order',
        'status' => array('wc-completed', 'wc-processing'),
        'date_created' => $first_date_string . '...' . $last_date_string,
        'orderby' => 'date_created',
        'order' => 'ASC',
    );
    $orders = wc_get_orders($query_args);

    foreach ($orders as $order) {
        // Each $order is a WC_Order object.
        // https://woocommerce.github.io/code-reference/classes/WC-Order.html

        $order_id = $order->get_id();
        $customer_id = $order->get_user_id();
        $customer = get_user_by('ID', $customer_id);

        // Reset all the values for this row.
        foreach ($field_names as $field_name) {
            $row_values[$field_name] = '';
        }

        // Set all the values for this row.
        $row_values['order_id'] = $order_id;
        $row_values['shipping_country'] = $order->get_shipping_country();
        $row_values['currency'] = $order->get_currency();
        $row_values['order_total'] = $order->get_total();

        $row_values['customer_id'] = $customer_id;
        if (!empty($customer)) {
            $row_values['customer_name'] = $customer->display_name;
            $row_values['customer_email'] = $customer->user_email;
        }

        fputcsv($output, $row_values);
    }

}
The structure is very similar to report-one. The main difference is we’re trying to extract an array of WC_Order objects using wc_get_orders(), instead of an array of WP_Post objects using get_posts().
You can now run the CSV export by clicking on Export All Orders in the dashboard widget.
Keep On Going…
Keeping each report in its own PHP file is a nice way of enabling you to put custom logic in there. If you try to do an export using a single MySQL SELECT/JOIN database query, you’ll quite quickly find it difficult to do quirky things.
There are loads of juicy data you can get out of WooCommerce. There’s a nice piece on S|tack Overflow that shows how you can use get_items() to loop through the products in an order. You can also analyse tax breakdowns, discount coupon use, and more… All without needing to install yet more plugins. Win! 😎 👍


Thank you for this tutorial.
I needed to be able to create an export of my users with custo fields and was finally able to get it to work, thanks to your tutorial.
I do have one additional question however,.
How would I be able to get this function in my admin menu?
I have no issues with creating new admin menu items based on hyperlinks, but have no idea on how I would add this function behind a “link”
Thank you!
Hi Kenneth
I’m glad you liked the tutorial. Creating Admin Menu Items with custom URLs is an interesting thing to do – I had a look into it for you and made a new tutorial.
Admin Menu Items with Custom URLs
To integrate it with your CSV Reports, you can either modify the contents of wptcami_get_menu_items() with your report URLs, or hook the “wptcami_menu_items” filter. Either way should work well.
Thank you for this tutorial,
I added this into my site about 2 weeks ago and if worked as expected however, it seems to now be returning a 403 error instead of downloading the CSV file. Is there anything i can do to fix this?
Many Thanks.
Hi
A HTTP 403 Not Authorised response usually means the web server is blocking the request before it even makes it through to PHP/WordPress. The two likely candidates for this are:
I’ve been using the same code on several sites for a while, and they all still work after the recent WordPress 6.0.3 update.
Have a look at your site’s PHP error logs. The server might have recorded why direct access to that PHP file was denied.
The cleanest thing to do is for us to connect the PHP file to a custom URL rewrite endpoint, like “example.org/reports/report-one”. I figured that would make the tutorial a bit messy… effectively covering two topics at once.
If you don’t have any success with your investigation, send me a message from the contact form and we’ll dig into it further – I’d like to know the answer to this one.
Thank you for your help,
I managed to resolve this issue. After migrating my website to a new domain, Siteground (my hosting provider) automatically installed a plugin called “Siteground Security”. After disabling this plugin the csv export worked as expected and i have not encountered any further 403 errors.
Great stuff – probably an htaccess issue from their plugin.