In this tutorial, we’re going to take the standard hierarchical WordPress Pages Widget and make it dynamic. We’ll use a bit of JavaScript/jQuery to add some expand/collapse buttons so you can hide and show the child pages. This copy-and-paste tutorial fits nicely into any custom child theme.
importantMake sure you’re using a custom child theme so you can edit your functions.php file.
Break it Down
We’re going to try to keep this project quite simple by not adding loads of back-end PHP. We’re effectively just going to “hack” the built-in WordPress Pages Widget with jQuery & CSS 😎.
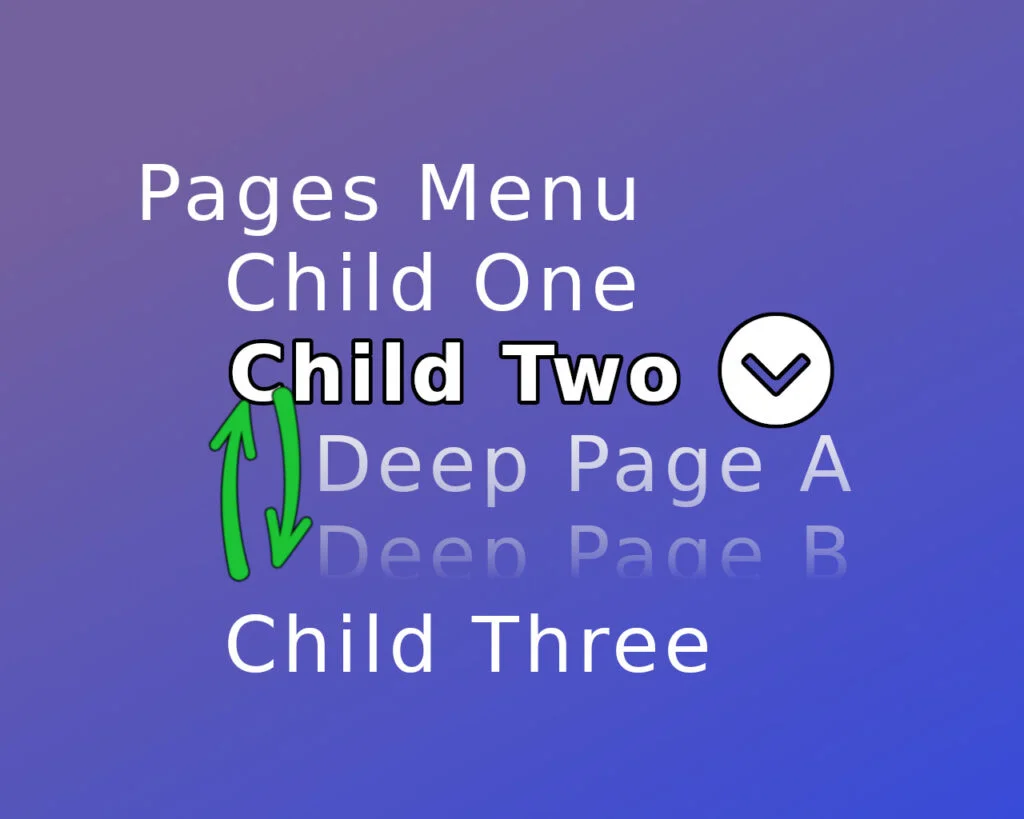
Add the Pages widget to your site’s side bar so you’ve got your list of pages in there. Inspect the page list in your browser’s developer tools and you’ll see the HTML is just a series of nested unordered lists, a bit like this:
<ul>
    <li><a href="#">My Pages</a>
        <ul class="children">
            <li><a href="#">Child Page One</a></li>
            <li><a href="#">Child Page Two</a>
                <ul class="children">
                    <li><a href="#">Deep Page A</a></li>
                    <li><a href="#">Deep Page B</a></li>
                </ul>
            </li>
            <li><a href="#">Child Page Three</a></li>
        </ul>
    </li>
    <li><a href="#">All Posts</a></li>
    <li><a href="#">...</a></li>
    <li><a href="#">...</a></li>
</ul>
infoFor reference, the widget uses wp_list_pages() to print a hierarchical list of pages with the standard CSS classes.
We’re going to craft some JavaScript that runs in the browser after the page has loaded. This will scan the page for Pages Widgets and automatically attach expand/collapse toggle switches to list items that have child menus. By not hooking the main widget code in PHP, it’s really easy to drop this project into any existing WordPress site and it should “just work” 🤞
Sort Out the Logic
We’re going to use jQuery to do make the JavaScript stuff quick and easy to code. jQuery works by using CSS selectors to pick out the elements you want to work with in the DOM. And that’s what we need to do… A series of “find these elements and do this action them” and “now find those elements and do this other action to them”.
So… let’s plan out the logic:
- In CSS, make all the
ul.childrenelements hidden by default, usingdisplay:none;- This means we’ll only see the top-level pages in the list when the page loads.
- If there’s an
lielement with the “current-menu-item” class, then that’s the currently loaded page…- Find this element’s parents and make sure they’re all visible.
- For each
lielement with the “menu-item-has-children” class…- Find its link element and attach a
divto to it, to act as the toggle switch. - Add a handler to deal with the toggle-switch
divbeing clicked.
- Find its link element and attach a
- When a toggle-switch
divis clicked…- Find the associated
ul.childrenelement and either add or remove the “is-expanded” class. - Call jQuery’s slideUp() or slideDown() to hide/show the child menu
ul.
- Find the associated
Scaffolding
Let’s actually write some code. Go into your custom child theme’s folder and create the following empty files:
- dynamic-page-navigator.php
- dynamic-page-navigator/page-navigator.css
- dynamic-page-navigator/page-navigator.js
Open dynamic-page-navigator.php and paste the following PHP code into it:
<?php

/**
 * WP Tutorials : Dynamic Page Navigator (wptdpn)
 *
 * https://wp-tutorials.tech/refine-wordpress/make-the-wordpress-pages-widget-dynamic/
 */

defined('WPINC') || die();

const WPTDPN_MENU_SELECTOR = 'aside.widget_pages';
const WPTDPN_TOGGLE_SWITCH_HTML = '<i class="fas fa-chevron-circle-down"></i>';

function wptdpn_enqueue_scripts() {
    $theme_version = wp_get_theme()->get('Version');
    $base_uri = get_stylesheet_directory_uri();
    $handle = 'wptdpn';

    // Register and enqueue our styles.
    wp_enqueue_style(
        $handle,
        $base_uri . '/dynamic-page-navigator/page-navigator.css',
        null, // We aren't dependent on any specific styles.
        $theme_version
    );

    // Register and enqueue our script.
    wp_enqueue_script(
        $handle,
        $base_uri . '/dynamic-page-navigator/page-navigator.js',
        array('jquery'), // Our script needs jquery to be loaded.
        $theme_version
    );

    // Add a global wptdpnData variable to the document body.
    // We'll pick this up in the JS code later.
    wp_localize_script(
        $handle,
        'wptdpnData',
        array(
            'menuSelector' => WPTDPN_MENU_SELECTOR,
            'toggleSwitchHtml' => WPTDPN_TOGGLE_SWITCH_HTML,
        )
    );
}
add_action('wp_enqueue_scripts', 'wptdpn_enqueue_scripts');infoWe’re using Font Awesome 5 to for the toggle switch HTML. If your site doesn’t have Font Awesome 5 available, you’ll need to change the value of WPTDPN_TOGGLE_SWITCH_HTML to something else. This can be an img markup, or even just plain text. If you’re not sure what to set it to, use ‘XXX’ for now. You can come back to it after you’ve got the main bit of code working.
Next, open your child theme’s functions.php and paste this into it.
// WP Tutorials : Dynamic Page Navigator (WPTDPN)
require_once dirname(__FILE__) . '/dynamic-page-navigator.php';
Now we’ve got enough PHP to enqueue our CSS and JavaScript assets, and we’re calling our code from the child theme’s functions.php.
We need to load our custom CSS before we start the JavaScript stuff, so go into the dynamic-page-navigator folder, edit page-navigator.css and paste the following into it.
/**
 * WP Tutorials : Dynamic Page Navigator (wptdpn)
 *
 * https://wp-tutorials.tech/refine-wordpress/make-the-wordpress-pages-widget-dynamic/
 */
aside.widget_pages li.menu-item-has-children>.menu-link {
    position: relative;
}

aside.widget_pages li>a {
    display: block;
}

aside.widget_pages li>.menu-link .toggle-collapse {
    position: absolute;
    right: 0em;
    top: 50%;
    font-size: 14pt;
    transform-origin: center;
    transform: translateY(-50%);
}

aside.widget_pages li>.menu-link .toggle-collapse.is-expanded {
    transform: translateY(-50%) rotate(180deg);
    opacity: 0.40;
}

aside.widget_pages li>.menu-link .toggle-collapse.is-expanded:hover {
    opacity: 0.75;
}

aside.widget_pages ul.children {
    display: none;
    margin-top: 0.25em;
}

aside.widget_pages .current_page_item>a {
    font-weight: bold;
}
Now, when you reload a page on your site with the Pages Widget on it, you should see that all of the ul.children elements are collapsed/hidden.
Right… It’s time to do the clever bit…
The JavaScript Code
In the dynamic-page-navigator folder, open page-navigator.js and paste this lump into it:
/**
 * WP Tutorials : Dynamic Page Navigator (wptdpn)
 *
 * https://wp-tutorials.tech/refine-wordpress/make-the-wordpress-pages-widget-dynamic/
 */
(function($) {
    'use strict';
    $(window).on('load', function() {
        console.log('Dynamic Page Navigator  : load');

        // Safety check. Don't run any of our code if wptdpnData hasn't been
        // set by calling wp_localize_script().
        if (typeof wptdpnData != 'undefined') {
            console.log(`Dynamic Page Navigator  : init ${wptdpnData.menuSelector}`);

            // Make sure the parent menu item(s) for the current page are
            // expanded by default, or we won't be able to see the
            // current page menu item.
            $(`${wptdpnData.menuSelector} li.current_page_item`)
                .parentsUntil('nav', 'ul.children')
                .addClass('is-expanded')
                .css('display', 'block');

            // Make sure the menu item for the current page is expanded,
            // so we can see its children.
            $(`${wptdpnData.menuSelector} li.current_page_item > ul.children`)
                .addClass('is-expanded')
                .css('display', 'block');

            // For each list item that has a child menu, create and attach a
            // toggle switch (div).
            $(`${wptdpnData.menuSelector} li.menu-item-has-children > .menu-link`).each(function(index, anchorElement) {
                var toggleSwitch = $(`<div class="toggle-collapse">${wptdpnData.toggleSwitchHtml}</div>`);
                var listItem = $(this).closest('li');
                var childMenu = $(listItem).children('ul.children');

                // If the child menu is already expanded then make sure the
                // toggle switch is expanded too.
                if (childMenu.hasClass('is-expanded')) {
                    toggleSwitch.addClass('is-expanded');
                }

                // Connect the click event to our toggleMenu() function.
                toggleSwitch.click(function(event) {
                    // Don't let the click event bubble-up to the parent/link
                    // element, otherwise the browser will navigate to the page
                    // instead of just expanding/collapsing the menu item.
                    event.preventDefault();

                    // Expand/collapse the child menu for this item.
                    toggleMenu($(this));
                });

                $(anchorElement).append(toggleSwitch);
            });

            // Handle whenever a toggle expand/collapse switch is clicked.
            function toggleMenu(toggleSwitch) {
                var listItem = $(toggleSwitch).closest('li');
                var childMenu = $(listItem).children('ul.children');

                // Uncomment these to see when toggle switches are being clicked.
                // var anchor = $(listItem).find(' > a');
                // console.log(`Toggle menu item ${anchor.text()}`);

                if (!childMenu.hasClass('is-expanded')) {
                    childMenu.addClass('is-expanded');
                    toggleSwitch.addClass('is-expanded');
                    childMenu.slideDown(200);
                } else {
                    childMenu.removeClass('is-expanded');
                    toggleSwitch.removeClass('is-expanded');
                    childMenu.slideUp(200);
                }
            }
        }

    });
})(jQuery);
Read through the code and try to relate it to the core logic we set out at the start. There are loads of comments in there to help you out. But… the overall structure is standard stuff:
- Check that the inputs are valid/present/sane.
- If
wptdpnDatahasn’t been passed from the back-end by wp_localize_script(), don’t do anything.
- If
- Set the initial state.
- Look for all the on-screen pages widgets and set the “is-expanded” CSS class where necessary.
- Create and attach the toggle switches to relevant list item links.
- Core function/logic.
- The
toggleMenu()function does the main work of hiding and showing the items.
- The
Going Forward
If you want to push yourself a bit, try extending the project…
- We’ve used jQuery to
slideUp()andslideDown()to hide/show the child menus. Try removing these functions and doing it with pure CSS transitions. There are loads of slide/fade/cool transitions out there on JSFiddle. - For something a bit more advanced, try replacing all jQuery code with native JavaScript Query Selectors. This would let you remove “jquery” from the array of dependent scripts in “dynamic-page-navigator.php”, and make your page load a bit faster.
- We’re registering and enqueuing our CSS and JS assets on every page on the site. But… if you know you don’t have a side bar on the current page, you could avoid enqueuing these assets, like on the website’s front page. This would give you a faster page load. Try making some changes to
wptdpn_enqueue_scripts()with conditional checks to things like is_front_page() or is_home().
That’s it for this one! 😎

